How to fit MTB derailleur cables and housing?

It is recommended to change your MTB derailleur cables and housing at least once per season for a regular rider, in order to maintain an optimal level of performance in your MTB drivetrain.
- Time: 30 min
- Level: Easy
- Tools: Set of Allen keys | Cross-head screwdriver | Cable cutters | Housing cutters
Steps
- Set the MTB gear shifter to position "0" (cable slack).
- Release the derailleur cable using the Allen key, then remove the housing.
Probikeshop tip: make sure you note the cable and housing routing before removing everything, so you can fit the new parts in the same way.
- Remove the cable from the gear shifter (for SHIMANO: remove the cable cover with a screwdriver. For SRAM, remove the cap with an Allen key).
- Cut the new cable housing to the correct size using the old one as a template.
- Insert the new cable into the gear shifter, then close it.
- Thread the housing onto the cable while fitting it onto the bike. Make sure you also thread on the cable housing end caps.
Probikeshop tip: if the housings are not pre-lubricated, you can apply a few drops of oil to the cables before inserting them into the housing to reduce friction.
- Finally, place the cable on the derailleur, pulling it slightly taut.
Once your new cabling is installed, all you have to do is follow the derailleur adjustment tutorial.
Découvrez tous nos conseils & Tutoriels
MTB - Transmission Cables and Housing
-

CLARKS DIE DRAWN Polished Stainless Steel Derailleur Cable
Regular price 2,61 €Regular priceUnit price per -
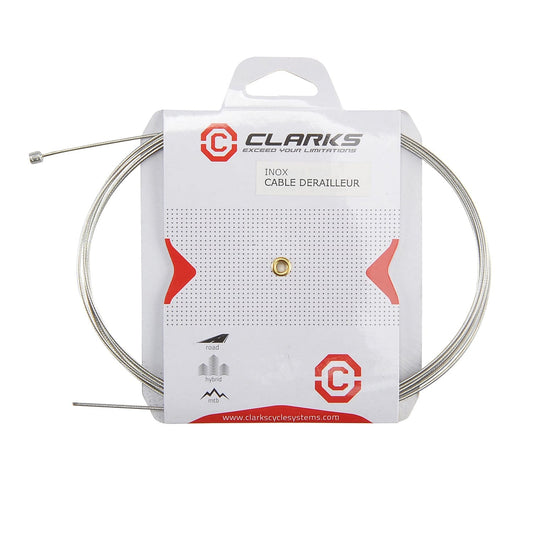
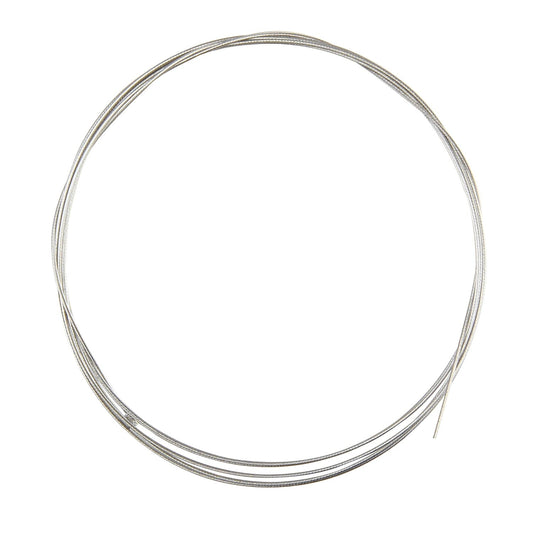
CLARKS UNIVERSAL Stainless Steel Derailleur Cable
Regular price 2,09 €Regular priceUnit price per -

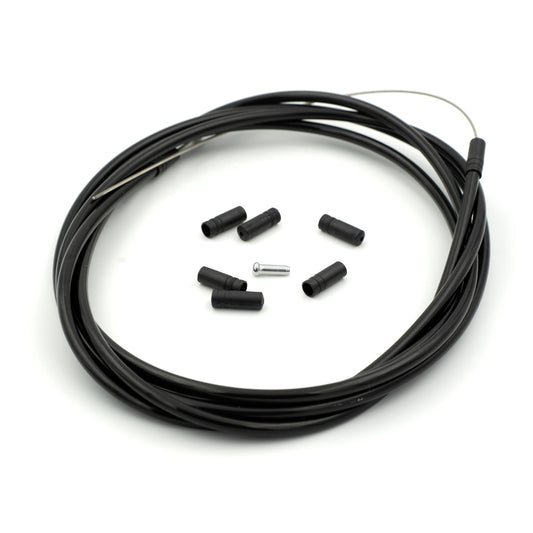
CLARKS Universal Stainless Steel Derailleur Cable and Housing Kit
Regular price 3,05 €Regular priceUnit price per -

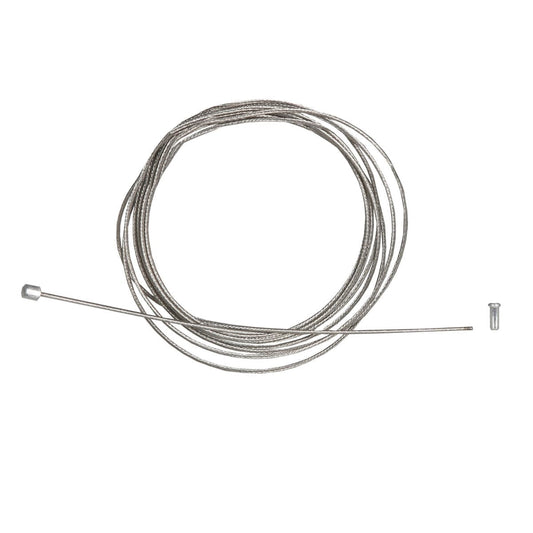
SHIMANO Stainless Steel Derailleur Cable 2100mm
Regular price 7,34 €Regular priceUnit price per -
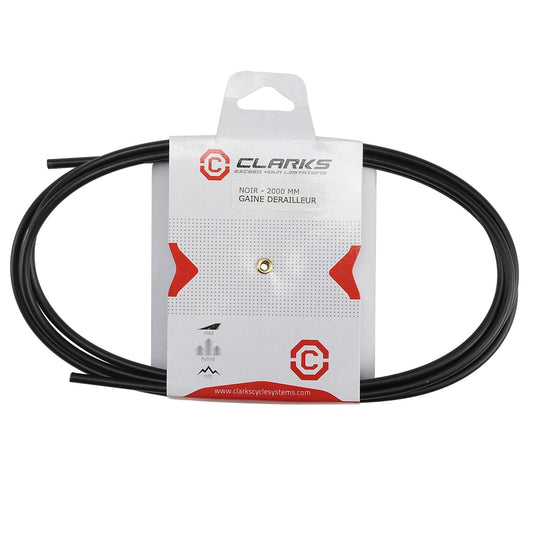
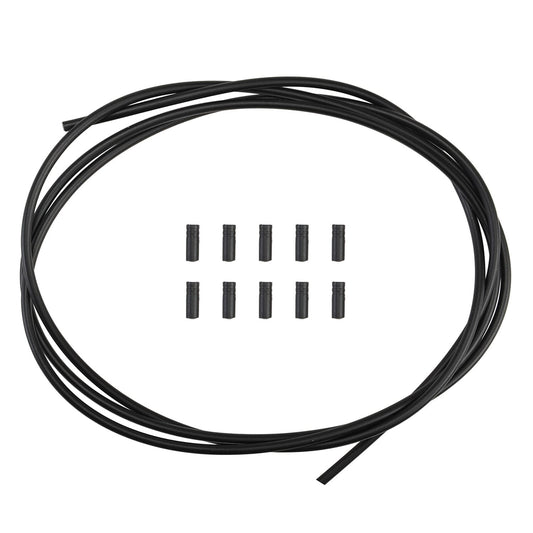
CLARKS 2000mm Derailleur Housing
Regular price 2,61 €Regular priceUnit price per -
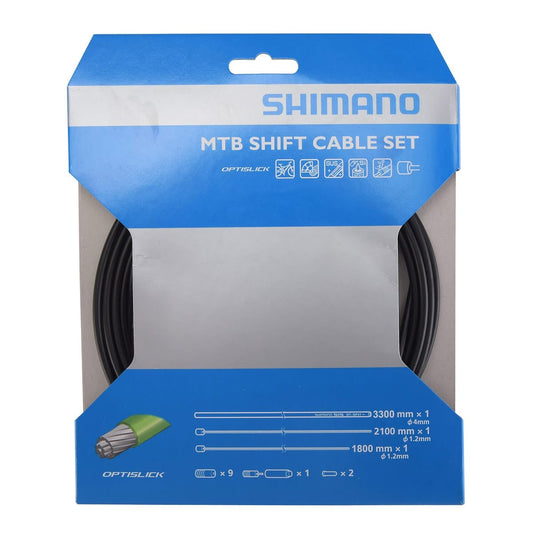
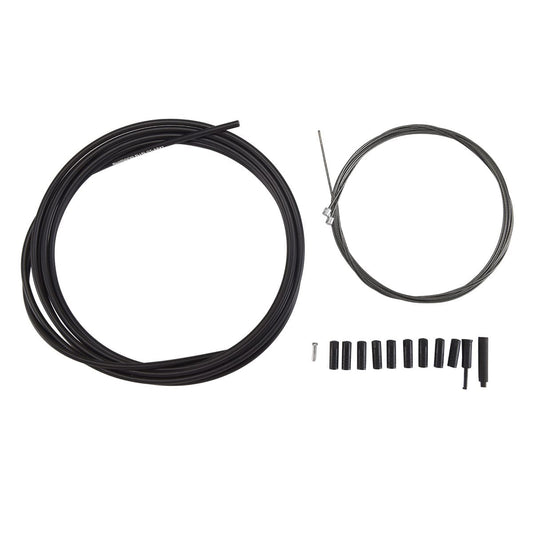
SHIMANO MTB Optislick Derailleur Cable and Housing Kit
Regular price 25,19 €Regular priceUnit price per -
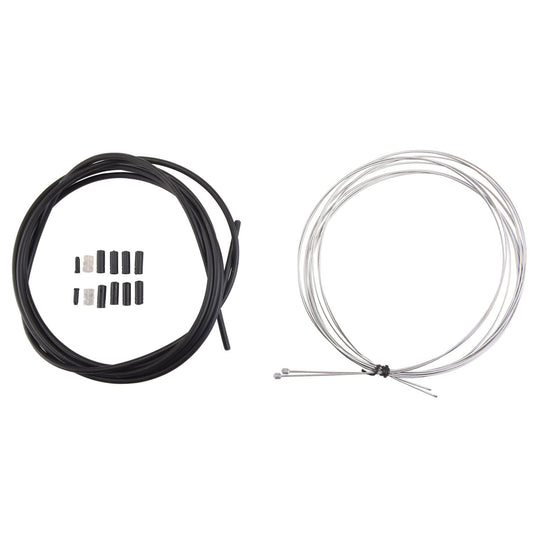
CLARKS Stainless Steel Derailleur Cable and Housing Kit Black
Regular price 10,49 €Regular priceUnit price per